As I mentioned in our last Meeting June 2020, I’ve been working to build some security cameras out of Raspberry PI Zero W’s and some 5 M-Pixel cameras I got for cheap for them.
I wanted to update you on how it’s going.
Hardware
- Raspberry Pi Zero W - $10.00 each
- 5 MP Camera for Raspberry PI - $9.00 Each (note: the pi zero has a different sized connector for the ribbon cable, so you want to make sure to order the cameras that have both sizes).
- Fake Outdoor style Surveillance Cameras from Amazon - 4 for $24.00 or $6.00 each (I use these as a housing for my camera as they are almost completely hollow inside).
- 32 GB SD Card - $6 to $8.00 each
- Power Cable - Micro USB - all prices levels…but around $10.00 each for official Raspberry Pi versions.
Software
- MotionEyeOS for Raspberry PI - made specifically for running Surveillance cameras on Pi - Of course Open Source and Linux Based
Put it all together
First, you need to use a program like Etcher (Balena Etcher) to “burn” the MotionEyeOS image to your SD Card. Now, because it’s a Pi Zero, we need to add a couple of things to the SD Card before we boot our PI for the first time.
- The “burn” process will create 2 directories on your SD Card (actually 2 Volumes).
- On the smaller of the 2, the boot volume, you need to add an empty file call “ssh” (without the quotes of course). No extension, just
ssh - You also need to create a text file called “wpa_supplicant.conf” (again without the quotes.
- In the
wpa_supplicant.conffile you need to add the following block of text, and change the SSID to your Wireless SSID, and the passphrase to your wireless password.
ctrl_interface=DIR=/var/run/wpa_supplicant GROUP=netdev
update_config=1
country=US

network={
     ssid="YourWifiSSIDHere"
     psk="YourWirelessPasswordHere"
     key_mgmt=WPA-PSK
}
NOTE: If you stumbled upon this page, and don’t live in the US, you would also change the country value to be your country’s abbreviation.
-
Now, eject the two volumes, and remove the SD Card from your burning computer, and place the SD Card into your Raspberry PI Zero W, but DON’T BOOT YET
-
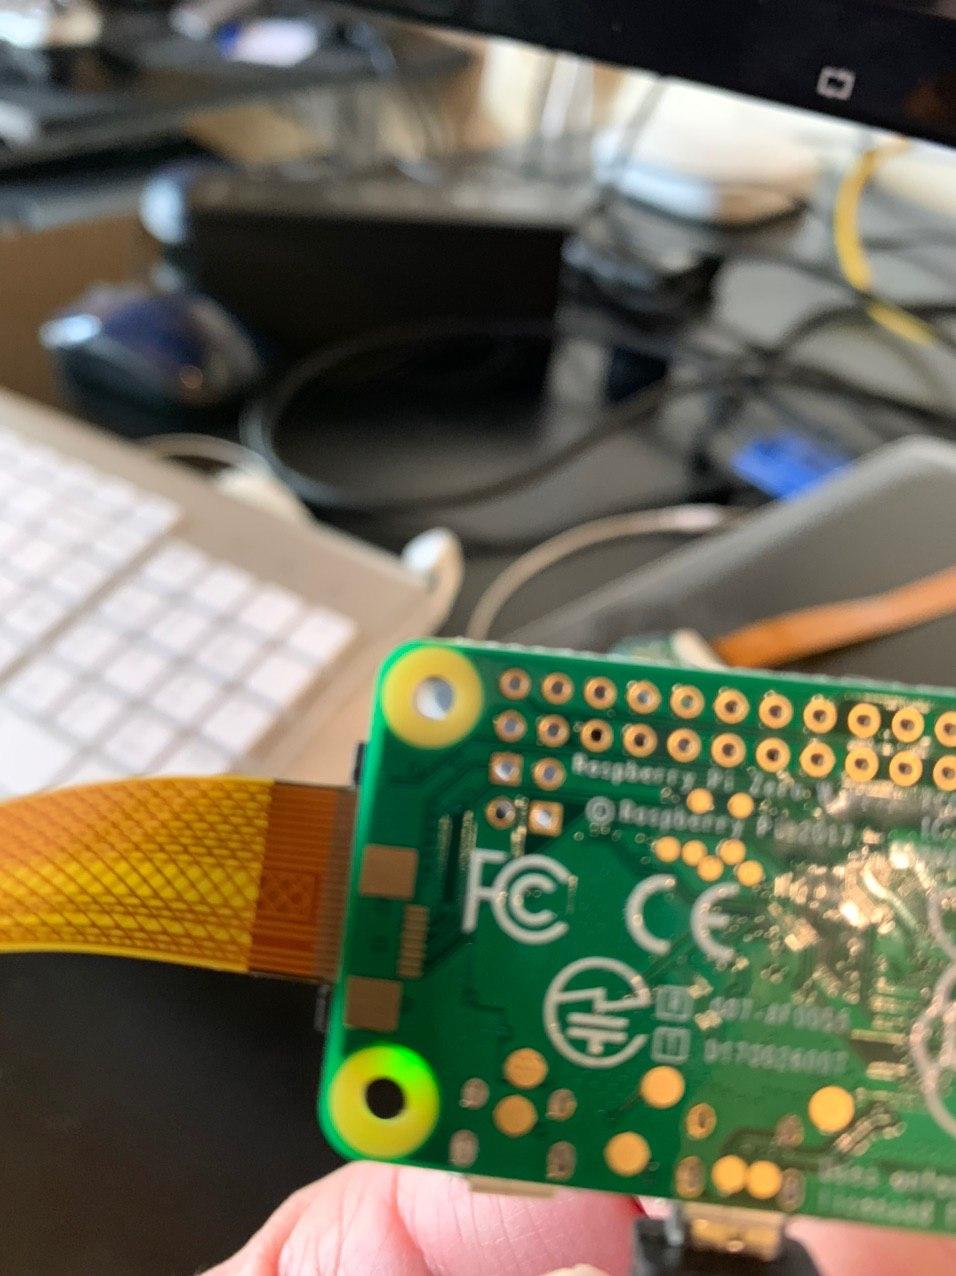
Before we boot, we need to attach our Camera. If you look at the ribbon cable, you’ll see one side has some gold or metallic contacts side by side by side. On the Pi board this blugs in under the camera port with the contacts facing down toward the board.
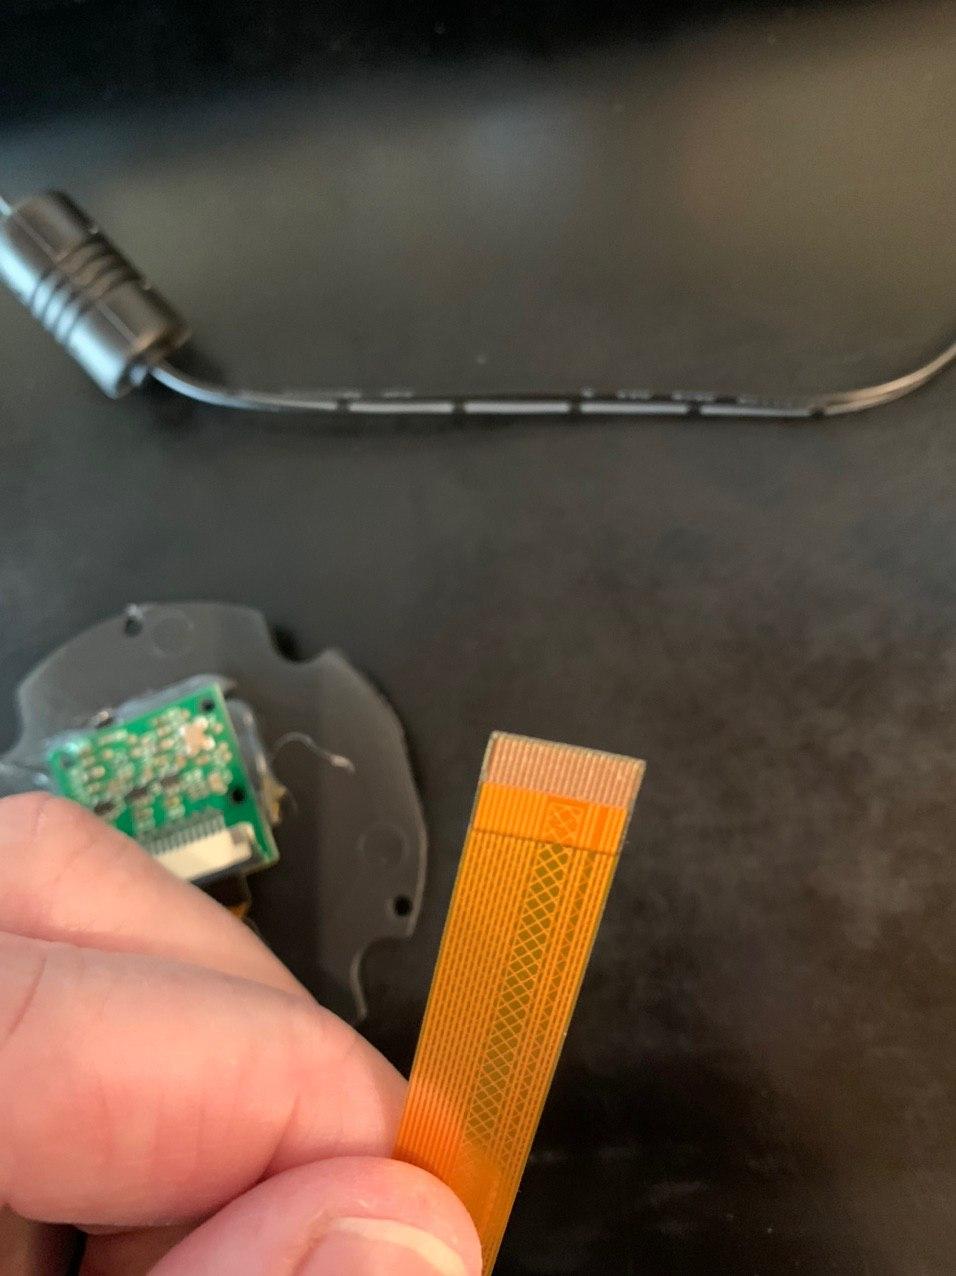
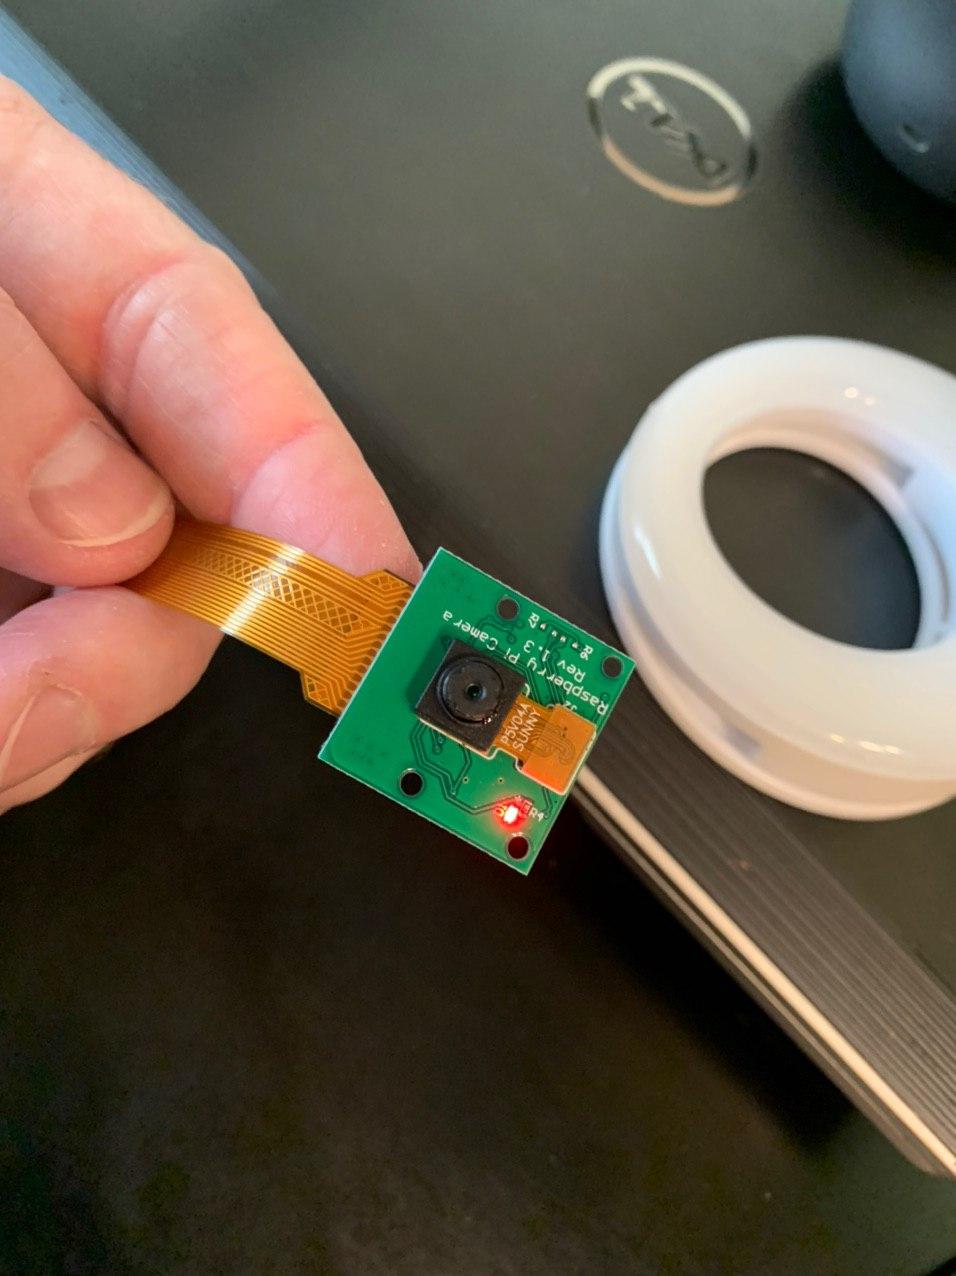
- On the Camera side the contacts face toward the board, from the back (opposite side from the camera).
-
Make sure the ribbon is inserted completely, then close the retention clip.
-
Now, we are ready to boot our Pi Zero W and MotionEyeOS.
Give the Pi Zero W a few minutes to boot fully the first time. (it may only take 30 seconds, but it’s not hard to wait a few minutes).
- Now, you need to find the IP Address of the Pi, and there are multiple ways to do this.
You can use your Router GUI to find it many times, or you can use a program like Angry IP Scanner, which runs on Linux or Windows.
Angry IP can be sorted to search by hostname, or Port. The hostname should be MOTIONEYE, and the open ports will 22, 80.
-
Once you have the IP of your Raspberry Pi Zero W camera system, put the IP into a browser and navigate to it to see the login screen for MotionEyeOS.
-
The initial Login will be
adminwith no password. You’ll want to change this in the settings once you’re logged in.

The Secret to Smooth Video on Pi Zero with MotionEyeOS
So, when I first set this up, I got extremely low resolutions to move at almost 5 frames per second (and I mean 640x480 resolutions).
Well, I hated that, and had almost given up…then I discovered a setting that fixed this for me.
There is a toggle (that for some unknown reason is off by default in MotionEyeOS) that makes video stream at 1920x1080 at 10 to 15 FPS with no real issues, and only minimal lag.
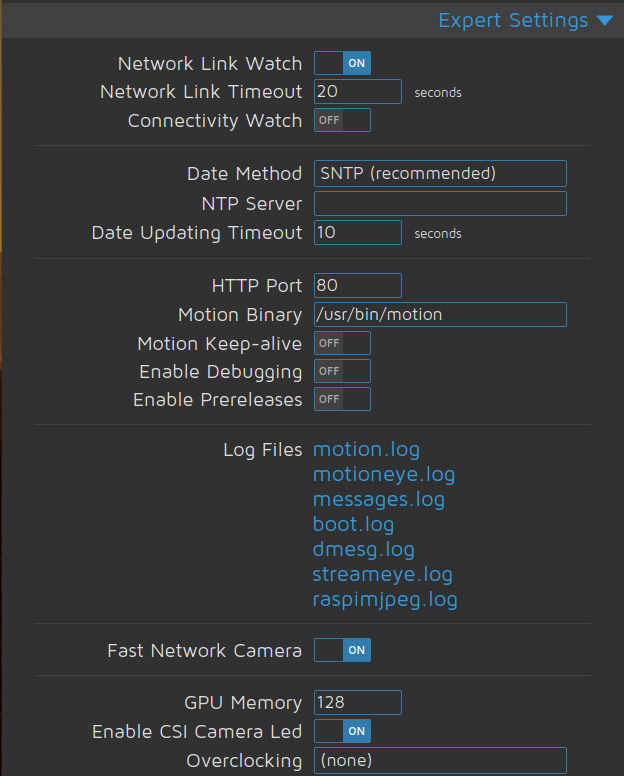
You want to enable the option under “Expert settings” called “Fast Network Camera”. Turn that to ‘On’, then Apply and let the system reboot.
Now your stream should be much better at higher resolutions. You can play with all of the settings this reveals to make things optimal.
MotionEyePiZero.mkv (745.4 KB)
This is all just a start to the adventure, but give it a shot…and you can actually use any Raspberry PI Model for this. I just chose the Pi Zero for cost.